Friday, September 23, 2016

Pasta with Rapine, Portobello & Pine nuts

Friday, September 23, 2016
Pasta with Rapine, Portobello & Pine nuts


Growing up in an italian household, pasta was a weekly occurrence in my house. While my amazingly talented mother made her homemade red sauce & meatballs a majority of the time, she sometimes made a similar version of this. 

The flavors in this dish are just incredible together. If you are not a huge fan of rapine (it is naturally bitter) then you could probably substitute it out for broccolini...but the rapine is personally my favorite part! 

There is the bitterness of the rapine, saltiness of the parmesan cheese, earthiness of the mushrooms, and wonderful smokey flavor of the toasted pine nuts. AMAZING. I used green lentil penne by POW foods from Acient Harvest. I have lentil pasta here and there when I am looking for extra protein and fiber, especially if there is no meat in a dish. This pasta came out great, and was super filling due to the high fiber! You can absolutely use any type of pasta in this dish. Rigatoni or spaghetti are awesome options as well. For vegans, you can easily leave out the parmesan cheese and it would be equally delicious!

I will be honest, I never measure for this recipe! In my opinion, pasta is a hard dish to mess up. I learned that the best way to cook is to follow your instincts and always taste as you go (thank you mom!!) Therefore, I tried my best to give measurements to certain things such as the oil & cheese..but this is where you can be creative with it and follow your own taste buds! ENJOY :)

INGREDIENTS

1 Box pasta (your choice)
1 Bundle rapine (broccoli-rabe)
2 Large portabello mushroom caps
2 tbsp Minced garlic
1/4 cup Raw pine nuts
1/4 cup Grated parmesan cheese 
2-3 tbsp Extra virgin olive oil
Salt & pepper
Red pepper chili flakes


METHOD

1. Wash and chop the rapine into small bites. Slice the mushrooms into thin strips. 

2. Heat 1tbsp oil with the minced garlic over medium high heat.

3. Once garlic starts to sizzle and turn golden, add the rapine and mushrooms. Stir to mix.

4. Add salt, pepper & chili flakes to taste. (I love the little heat from the chili flakes, but you can totally leave it out! They are very hot, so a little goes a long way.) 

TIP: You may need to add approximately 1/4cup water for moisture. It will get absorbed as it cooks.

5. While the veggies cook, begin to boil the pot of water for the pasta.

6. Now we will toast the pine nuts. Take out a small stove top pan and put it on medium heat. Add the pine nuts, stirring them often, and watch closely for them to turn golden. Do not burn! Once toasted, remove from heat and set aside in a bowl.

7. Once the water boils, add the pasta and cook according to instructions. Keep stirring the veggies and add more seasonings if needed (taste!) Do not be afraid to over-cook the veggies. If you like them with more of a crunch, cook less. If you like them soggy, cook longer. Told you, it is hard to mess up!

8. Once the pasta is done cooking, drain and then place back in the same pot. Add about 1tbsp olive oil + the parmesan cheese and stir to coat.

9. To serve, plate the pasta, then add as much of the veggies as you like, then sprinkle with the toasted pine nuts. You can also add more parmesan to garnish, like I did :)


Thursday, July 21, 2016

Banana Dark Chocolate Chip Muffins {Vegan}

Thursday, July 21, 2016
Banana Dark Chocolate Chip Muffins
{Vegan}


These are the BEST banana muffins I have ever made, and possibly the last recipe I'll ever need! I totally winged the recipe and they turned out amazing. These are vegan and made with low-gycemic coconut sugar and high-protein quinoa flour. Lately I love baking with quinoa flour because it makes my baked goods come out doughier and lighter than when I use wheat flour. It tastes great, too! These muffins have the perfect amount of sweetness to satisfy any sweet-tooth. Studded with dark chocolate chips, and amazing warm OR cold, you will plow through these perfect little gems in no time. 

PRO TIP: Cut one open fresh from the oven and smear with PB then shove in mouth ;)


INGREDIENTS

3 mashed ripe bananas (the riper the better)
1 cup unsweetened almond milk 
1/4 cup coconut sugar (can sub with any sugar as well as maple syrup or honey)
1.5 cups quinoa flour**
1 tbsp coconut oil (melted)
1/2 cup dark chocolate chips
1 tsp cinnamon
1 tsp vanilla extract
1/4 tsp salt
1/2 tsp baking soda
3/4 tsp baking powder

*I left out nutmeg this time, but I think it would be a great addition!
If you'd like to add for that authentic banana bread taste, I suggest adding 1/4tsp.

**UPDATE: My second batch, I used gluten-free brown rice flour in place of the quinoa flour,
and it turned out great! The consistency will be a little fluffier and less fudgey, but just as delicious. 

•  •  •  •  •  • •  •  •  •  •  •


METHOD

1. Preheat Oven to 350F.

2. Mash bananas in a large mixing bowl.
Add the coconut sugar, melted coconut oil, vanilla extract, and almond milk. Stir well to combine.

3. Next, add the quinoa flour, cinnamon, salt, baking soda and baking powder.
Stir very well till smooth and not clumpy (besides small banana chunks)

4. Add chocolate chips and combine well.

5. Grease or spray muffin pan with non-stick spray or oil (I used coconut oil spray!)

6. Scoop batter evenly into muffin pan. I used a little less than 1/4cup to fill my 12-count pan.

7. If desired, add a couple more chocolate chips to the tops (for visual appeal)

8. Bake on middle rack in oven for 15-25 minutes until toothpick comes out clean,
and edges of muffins are slightly brown. NOTE: Since these are vegan, it is OK to under-bake
them if you like them more fudge-like! I baked mine for 20 minutes so they were fudge-like
right out of the oven but once cooled they always bind/dry up a little more. 

9. Store in a sealed container on counter or in the fridge, or freeze and then pop one in the
microwave to defrost as needed! TIP: I like to freeze them after a couple days for freshness.
If I know I'll want one at lunch or as a snack later in the day, I'll take one out of the freezer and
saran wrap. By lunch/snack time they are thawed! 

I am obsessed with these muffins! They are so decadent but healthy.
If you give them a try please tag me on Instagram @StefLiaFit or comment below, I would love to hear what you think! :)


Tuesday, May 3, 2016

Spicy Lentil Soup {Vegan, gf}

Tuesday, May 3, 2016
Spicy Lentil Soup
(Vegan, gf}

This lentil soup is one of my all-time favorites! It is perfect for a chilly day, perfect for meal prep (makes a huge batch which lasts the week), perfect for when your getting sick, perfect for detoxing or kick starting clean eating. It is loaded with nutrition, plant protein, and tons of fiber. Need a easy and delicious way to regulate digestion and even clear your sinuses? This is it! Let's be honest, it's the perfect anytime soup! It's customizable, too. Want meat? Add some ground turkey or beef (which I've done). You can also omit or add vegetables + tailor the spices to your needs. I promise it's hard to mess up this soup, if you make a it or a variation of it please comment below! I love hearing what you guys think of my recipes :) Hope you love it as much as I do!


INGREDIENTS

1qt carton organic low sodium vegetable broth (I have used bone broth + chicken broth as well)
28oz can organic no salt added diced tomatoes
2tbsp minced garlic
5 celery stalks, chopped
1 bag mini tricolor baby carrots, chopped
1 large zucchini, chopped
1 yellow onion, chopped
1.5cups green lentils (dry)
1/4 of a lemon, squeezed
Fresh baby spinach (optional, for serving)
1tbsp extra virgin olive oil or coconut oil (I used this herb-lemon liquid coconut oil this time!)
8-12oz water (optional)


*SPICES
1/2tsp pepper
1/4tsp tumeric
1/4tsp garlic powder
1/4tsp chili powder
1/4tsp cayenne powder
1tsp italian herbs

*I always eyeball spice and taste along the way, so PLEASE adjust according to your taste! I estimated these measurements since I do not measure. Get your spoon in there and don't be afraid to taste!


METHOD

1. Chop the garlic, celery, carrots, zucchini and onion (small, or desired chunkiness ;)

2. Using a large deep pot on medium/high heat, heat tbsp of oil and then add veggies to pot (garlic, celery, carrots, zucchini and onion)

3. While the veggies are cooking, stir here and there to ensure even cooking. Meanwhile, prepare lentils according to the back of their package. Typically 3cups water per 1.5cups lentils, bring to boil, and let cook for 15-25 minutes.

4. At this point the lentils are cooking + the veggies are getting tender.

5. Once the veggies start to appear translucent and tender, add the canned diced tomatoes + broth. Stir well. Bring up to a light boil.

6. Add spices + lemon juice and stir well.

7. Once lentils are 75% cooked and most the water is absorbed, pour into the rest of the soup. Stir well. Bring back up to a light boil and cover. Let simmer from as little as 15 minutes to as long as 45 minutes.

8. If you like your soup thick, leave as is! If you desire more liquid (which I did this time) then add 8-12oz regular water to the soup and stir well.

9. Let cool on the stove for 10-20 minutes and when ready to serve, scoop into a bowl with fresh spinach placed on the bottom (the spinach will wilt from the hot soup!)

You can keep it in the fridge for a week or even freeze for up to several months! Its great cold too, and after sitting in the fridge overnight, it gets thicker and even better tasting (as all soups do!) ENJOY :)


Tuesday, April 5, 2016

Stef's Raw Vegan Caramel Slice

Tuesday, April 5, 2016
Raw Vegan Caramel Slice


I am so excited to share this recipe with you guys :) There are many raw caramel slice recipes out there but I did a little experimenting with the ingredients I had on hand to come up with these gems. I had tons of dates I had to use up, as well as a banana that was getting way too ripe for my liking, so I improvised and I am very happy with the results.

Often times, raw vegan desserts require a lot of raw nuts and sometimes expensive or hard-to-find ingredients. Not these babies! I bet most of you have these ingredients on hand now, or maybe only need to pick up one or two (inexpensive) items!

This is the perfect clean treat for my never-ending sweet tooth, that can be ate straight from the freezer (they don't harden!) and pack some nutritious healthy fats + fiber, too! These are chewy, perfectly sweet, decadent dessert that you can feel good about eating. The dates and banana provide natural sweetness, and the only added sweetener in the entire recipe is 2T pure maple syrup in the chocolate shell. Yes please! The peanut butter adds a decadent flavor to this caramel, and the chia seeds pack a fun texture and healthy omega's too. The chocolate shell is crispy, melts in your mouth, and reminds me so much of the "magic chocolate shell" I used to put on my ice cream as a kid.

My family was surprised by how good these tasted for being vegan, they make the perfect healthy treat to bring to a party! Tag me on Instagram, @stefliafit if you make these and love them as much as I do! :)


INGREDIENTS:

Base Layer:
1c oats (quick or rolled)
10 pitted dates*
Dash sea salt
1/2t vanilla extract
1/2t cinnamon
1/4c water

Caramel Layer:
16 pitted dates*
1 ripe banana
2T natural peanut butter or almond butter
2T chia seeds
2T water
Dash sea salt

Chocolate Shell:
1/4c coconut oil
2T cacao powder
2T maple syrup
Dash sea salt
1/4t vanilla extract

Equipment:
Food processor
8" x 6" dish or pan (I used a glass pyrex tupperware dish)
Parchment paper

*I used small pitted dates found at my grocery store. The dates used were not considered medjool, which are much larger. If using medjool, I would estimate using 7 dates in the base layer and 12 dates in the caramel layer. Don't be afraid to use less or more depending on the consistency!


METHOD:

1. Line your dish with parchment paper so your slices slip out easily. No need to grease! Cut off excess edges where necessary.

2. Start with the base layer. Add the oats to a food processor and blend until a fine flour consistency. It is ok if its a little chunky.

3. Add pitted dates, sea salt, vanilla, cinnamon, and water. Blend & pulse until ingredients are combined. (You may need to scrape down the sides and stir every so often since the dates are very sticky). Add a splash of water as needed if mixture is too dry or difficult to blend (be patient!)

4. Once the batter resembles cookie dough, is blended evenly, and can be molded with your hands, press biscuit dough into the bottom of your parchment lined dish with your hands. Make sure you press firmly to compact the dough and make sure it is spread as even as possible and to all edges and corners. Use a spatula or large spoon to flatten and smooth out biscuit layer if needed.

5. Place biscuit layer in freezer while we make the caramel.

6. In the same food processor, blend all caramel layer ingredients until fully combined, scraping down the sides as needed. If your mixture seems dry or won't blend, add splashes of water as necessary.

7. Remove biscuit layer from the freezer and pour the caramel layer on top. Smooth out the caramel evenly as you did the biscuit layer, so that it reached all edges and appears flat.

8. Place the dish (now with the biscuit + caramel layers) in the freezer for at least 2 hours (patience!) Can be left in as long as needed, but 2 hours is the minimum.

9. Lick food processor clean ;)

10. When your ready for your chocolate layer, melt the coconut oil in a small bowl and add remaining chocolate shell ingredients. Add more or less cacao powder or maple syrup depending how rich or sweet you prefer (don't be afraid to test taste!)

11. Remove dish from the freezer and pour your chocolate on top of caramel layer. Chocolate should coat the top evenly and appear smooth (this is the importance of making the layers flat/even early on!) Use a spoon or tilt the dish to ensure the chocolate coats all edges and is spread evenly.

12. Place dish back in freezer for at least 1 hour or longer. Chocolate shell will harden.

13. When ready to cut, gently lift parchment paper out of dish and place on a cutting board.

14. Run a large, sharp knife under very hot water and gently but firmly cut slices in desired shape (I prefer squares!) The chocolate may crack a little but the hot knife prevents most of this. Cut into however many pieces you like, however I got a perfect 12 squares from the size dish I used.

15. Store your slices in the freezer until ready to eat or serve! The caramel and biscuit layers never fully harden which is simply due to their ingredients. Therefore these will be chewy and delicious straight from the freezer! I have not tried storing in the fridge but you can if you want them softer. I would not suggest leaving them at room temperature for too long because the coconut oil in the chocolate shell melts easily so it must stay cold in order to stay firm!

16. ENJOY :)


Sunday, January 24, 2016

My Grocery Haul & Weekly Meals!

Sunday, January 24, 2016
Hey everyone! I hope you all had a great weekend :) I love Sunday's because I get to sleep in, get in a good workout, have a "fancier" breakfast (like delicious pancakes today), sip my coffee slowly, and grocery shop!

I love grocery shopping :) Healthy food makes me excited and I love cooking healthy meals that taste amazing and make me feel good. I wanted to share one of my grocery hauls with you guys to give an idea of what I buy each week and some of my meals. Although our biggest grocery haul is on Sunday, I typically stop 1-2x extra per week for a few more things we either run out of, or a last minute friday night dinner we want to make! The main two stores I currently shop at are Trader Joe's and Wegmans Supermarket. I will buy organic in 75% of my produce and 99% of the time in my poultry/meat/dairy. As long as my stores carry organic in the items I have on my list, then I will get it. If they do not have organic, I will typically still buy the regular produce that I need and I just make sure to wash it thoroughly.

I do not always meal prep, but I do make a list before I head out shopping which helps a TON. I make the list in my phone and erase items as I go. I honestly could not imagine shopping for the week without a list written down! I spend a little time each Sunday brainstorming what dinners/meals I will be eating each week, and then buy according to the meals. My boyfriend and I typically eat leftovers 1-2x per week and then go out to eat 0-1x per week so I factor that in. Lucky for me, he is not fussy at all and loves whatever I cook, so he eats what I am eating for dinner or some nights we do our own thing with whatever is on hand.

At the end of this post, I also talk about my take on "diet labels" and "cheat meals" and why I do not do them!


BREAKFAST
Every day I alternate between breakfasts. Breakfast is my favorite meal and it is sometimes my biggest meal of the day. I am always starving first thing in the morning, especially if I fit in a early workout. I eat based off what I am in the mood for, if I did a hard workout first, and however hungry I am. These are some of my breakfast staples that I alternate.

•   Oatmeal and/or Oatbran (fruit, non-dairy milk, nut butter, plant protein powder)
•   Smoothie (plant protein powder, non-dairy milk, fruit)
     AND sprouted grain toast (ezekiel grain + coconut oil & nut butter)
•   Hearty Smoothie (plant protein, fruit, non-dairy milk, nut butter, spinach, chia seeds, etc)
•   Pancakes (vegan buckwheat or coconut flour/protein + fruit, maple syrup & nut butter)

I include nut buter in 90% of my breakfasts because without this satisfying healthy fat I find I get hungry SO fast. Plus it's delicious! I love sweet breakfasts and have never been a big fan of savory in the morning. I find it keeps my cravings for sweets at bay, plus I have a slight egg intolerance so I have to stay away from those! :(

LUNCH
Lunches for me vary day to day and week to week. I like to switch it up so I don't get bored and go by whatever I am craving or feeling for that week. I often will use leftovers during the week for my lunch or as part of my lunch. Salads are a common one for me, but I make them filling and delicious, nothing plain here! Here are some common lunches for me.

•   Massaged kale/romaine/spinach salad + veggies + 1/2 avocado
     + crock pot chicken/grilled chicken/ground turkey/salmon + nuts/seeds
•   Turkey bean chili (recipe can be found here!)
•   Turkey lentil vegetable soup (recipe on my instagram!)
•   Zoodles + ground turkey & homemade sauce with veggies

DINNER
I love to make A LOT of whatever I am making so that there are leftovers. Here are just a few of the dinner staples I make weekly or bi-weekly.

•   Grilled italian marinated chicken breasts/thighs + roasted veggies
•   Turkey/chicken burgers + roasted veggies + salad
•   Salmon salads (tons of veggies + avocado + sometimes feta)
•   Tacos (ground turkey or crock pot chicken + avocado, veggies, ezekiel sprouted corn tortillas
     OR a taco salad minus the tortillas)
•   Salmon + roasted veggies
•   Zoodles + ground turkey & homemade sauce with veggies
•   Turkey bean chili (recipe can be found here!)
•   Turkey lentil vegetable soup (recipe on my instagram!)
•   Chicken & vegetable stir fry with quinoa or rice
•   Whole wheat or Quinoa crust homemade pizza + salad

SNACKS/DESSERT
I eat breakfast early between 7-8am, lunch around noon, and dinner post-workout around 6-8. Therefore I need snacks between lunch and dinner to give me every if I workout after work, and to sustain me until dinner time (it is not good to go that long without eating!) If I am hungry, I eat. It is that simple. Never restrict yourself from food no-matter what your goals are! If you are hungry then your body is telling you it needs food. Even for those trying to lose weight, you should never starve yourself when you are clearly hungry. Of course sometimes after dinner I may not necessarily be starving but I may have a sweet tooth so I will have a clean snack or dessert as well!

•   Raw veggies + hummus
•   Clean protein bar (brands: Square, Raw Rev, KIND, Rx Bar, LARA are some favorites)
•   Fruit (apples, pineapple, clementines, etc.)
•   Rice cake + nut butter
•   Dark chocolate (72% or 80% or 88%...darker the better + more satisfying!)
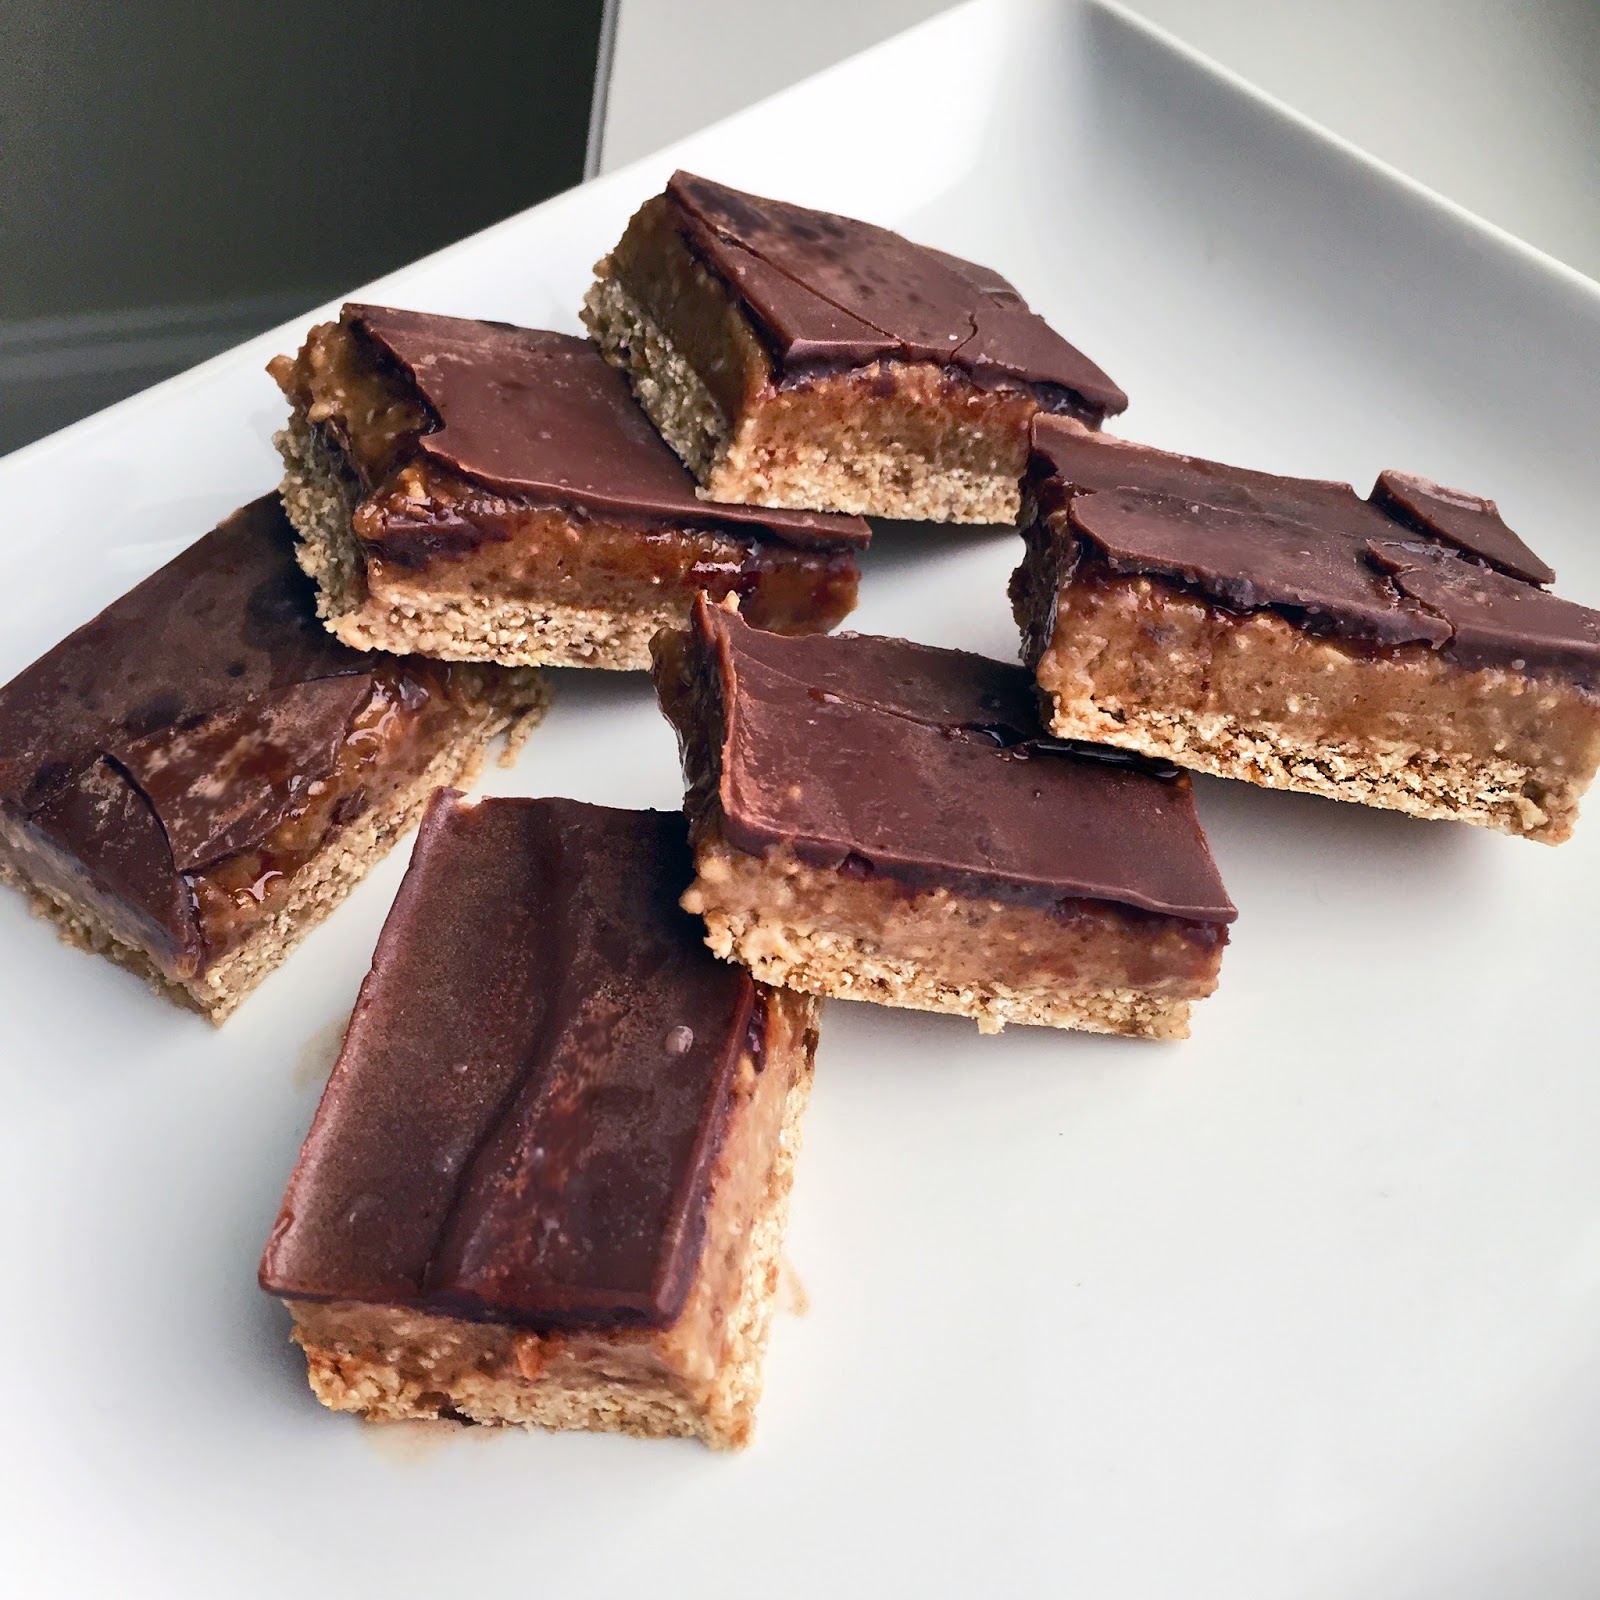
•   Healthy & clean baked good (clean banana chia muffins/bread, vegan brownies, vegan choc chip blondies, etc. these recipes can be found on my instagram!)
•   Banana ice cream (frozen bananas in the food processor + PB or cacao powder)
•   Plain greek yogurt + nut butter & dark choc chips
•   Nuts (love cashews, pistachios & almonds!)
•   Stovetop popcorn (made with coconut oil...fiber packed & a great volume food!)


This week's Sunday grocery haul:
The haul below does not include the food bought for all of my boyfriends meals. I chose to show only what I also consume along with him. Although we eat the same dinners, his lunch/breakfeat meals vary).


Produce:
Zuchinni
Avocados
Tomatoes
Onion
Frozen mango
Frozen blueberries
Frozen strawberries
Butternut squash
Bananas
Cucumbers
Apples
Romaine
(already had - spring mix, kale, carrots, celery, lemons, limes, clementines, potatoes, pineapple & brustle sprouts at home)

Meat/Fish/Poultry:
Chicken breasts
Ground turkey
Salmon fillets
Canned tuna

Other:
Raw almond butter
Rice cakes
Fage greek yogurt
Unsweetened vanilla almond milk
Coconut oil cooking spray
Chick peas
Ginger kombucha
(already had - oatmeal/bran, nuts, peanut butter, ezekiel sprouted bread, vegan protein, cashew milk, oils & vinegars, hummus, etc meal components at home!)

As I said earlier, I try to buy most of my produce organic as long as it is in stock, and 99% of the time I buy organic meats. I have learned more over the past year how important organic is especially with meats due to the hormones and harmful substances inside the meat that cannot be washed off like so with produce. To me, it is worth the extra $ since your best investment is your health! Eat good = good health = longer life & less disease.

For more meal ideas scroll through my instagram, @stefliafit as all of the meals + recipes mentioned above are on there! Hope this helped some of you trying to meal prep or plan groceries for the week, as well as give some ideas to those who want to switch things up :)

_____________________

My take on "diet labels" & "cheat meals".
I strive for a healthy balanced lifestyle and I believe moderation is key in this. I do not cut out any food groups, I simply listen to my body and what it wants. I listen to what foods make me feel good and what ones make me feel bad. I choose to nourish my body with clean, whole foods instead of processed foods. Also, what works for one person may not work for another person. ( For example, one person may thrive off oatmeal in the morning, while it may make another person feel sick. Kale may be a superfood for one person, but cause stomach discomfort for another person. ) One person's healthy is not necessarily your healthy. Learn what works for YOU and own it! There is not one cookie-cutter way to be healthy. You do not need to be vegan, gluten-free, paleo, ect. in order to be "healthy". You actually do not have to have a label at all! Just live your best balanced, healthy lifestyle and you will do great. :)

Okay, I honestly dislike the term "cheat meal" and I do not do them. This is because my goal is to live balanced and with everything in moderation. I understand that planned cheats may work for some people, which is great, but not for me! I personally believe you can reach all of your goals and be a very healthy individual without planning cheat meals and without restricting yourself completely. When I do have cravings, which admittedly isn't very often, I will honor them. Simple as that! The truth is the more often you eat clean/healthy and stick to whole foods that nourish you, the less often you crave the other stuff. Plus, I have learned many ways to honor those cravings when they do strike, in a healthy way. There are healthy substitutes for literally anything your heart desires! Examples: (banana ice-cream, healthy or vegan blondies/muffins/brownies, dark chocolate, whole wheat homemade pizza, whole grain pasta, healthy nachos, homemade fries, ect.) I prefer to satisfy my cravings this way (half of the time) because it leaves me feeling better! Don't get me wrong, I absolutely still indulge in processed foods and "not-so-healthy" meals every once in a while, especially when special occasions & holidays come around! Sometimes in life these meals/treats are more often, while sometimes they are weeks apart. I just always keep moderation in mind and to not go over-board to the point where I feel sick. BALANCE is key. Restriction is no way to live your life. Find the balance that works for you & never let food hold you back from enjoying people/experiences/memories because life is short!

Friday, January 15, 2016

My Top (Everyday) "Detox" Tips

Friday, January 15, 2016
Hey guys! TGIF. I am so glad its finally the weekend. I don't know about you but this week seemed to drag on for me. Now that the holidays are over with, I hope to get back to posting more regularly. I would love to hear from you guys about what topics and posts you would like to see from me! All suggestions are welcome :)

Anyways, I wanted to write this post for anyone who needs a quick "reset" for their body, or a "detox" if you will. Our bodies naturally detox 24/7, however these tips will simply assist in the detox of your liver, digestive system, and your mind. Maybe you partied too hard Friday night, fell off the healthy train for a week or two, or over-indulged at a holiday party! These things can leave you feeling fatigued, bloated, tired, and unmotivated. Or maybe you just got over a nasty cold, or simply want to feel refreshed, lighter, and clean out your system! These "Detox" tips I swear by, and are based off my own experiences and results.

Try incorporating the following tips into your regular routine for a few days, and see how much better you feel inside and out! These are all safe to do daily, and are meant to accompany a healthy lifestyle.


1. Sweat it out

This may be an obvious one, but it works every time. I always think of the saying, "you never regret a workout". It's so true, when have you ever thought "ugh I wish I didn't do that workout"? Thats right, never. Even if you feel sluggish/tired/hungover it will make you feel better once your finished.

Exercise promotes circulation in our bodies and allows organs such as the lymph nodes and liver to cleanse those bodily fluids. It flushes out our lungs and assists in the passing of food through our digestive system quicker, while also opening the sweat glands and cleansing our skin through sweat.

Sweating will help release endorphins, as well as aid in removal of excess sodium in the body. If you feel bloated from over-indulging, sweating it out is key. Not only does it put some of that stored glycogen to use, but it will make you feel so much better after. It doesn't need to be strenuous exercise, either. Jog or incline walking for 30-40 minutes, or enough to get you sweating, will help.


2. Epsom salt bath


This is one of my favorite "detox" tips. Epsom salts are bath salts that reap tons of detoxifying benefits and also relax you like crazy (Oxymoron??). Your skin is a highly porous membrane and adding the right minerals to your bath triggers "reverse osmosis" which actually pulls salt from your body and removes harmful toxins along with it!

I buy a large bag at the grocery store or drug store, often one that contains lavender essential oil like this one here. I add 1-2 cups of the salt to a steaming hot bath, make a mug of tea, and sit back and soak for 20-30 minutes. You have to soak for at least 20 minutes to reap full benefits. Make sure to keep water or tea by the tub so you don't get light headed!


Some of the amazing benefits:

  • Draws toxins from the body
  • Replenishes magnesium in the body
  • Soothes pain and muscle aches/soreness
  • Heals cuts/blemishes
  • Cures skin issues
  • Treats colds & congestion
  • Relaxes the nervous system (great stress reliever!)

After the bath, it is recommended to take a cold (or at least lukewarm) shower and use only natural products on your body. Make sure to use an all natural soap and moisturizer, since your skin is still sensitive and detoxing so it is absorbing things fast. I use Dr.Bronner's Fair Trade Organic Castile Liquid soap which you can find here. It is an amazing all natural soap made of oils and is the best thing you can put on your skin! It smells incredible too, and a tiny bit goes a long way (so its worth the steep price).

As for lotion, I always use coconut oil for my moisturizer. It makes my skin so smooth and silky, and absorbes really fast as long as you don't over-do it. Coconut oil is anti-viral, anti-bacterial, and anti-fungal. I have used it in the past when skin issues or infections have popped up and it has healed them all within a week. I even use it as makeup remover because it works better than any store-bought kind and is nourishing for the delicate eye area. And despite what people think, using oil on your skin will not make you break out or cause you to have oily skin. It's amazing stuff!

I recommend taking the salt bath in the evening as you tend to get very sleepy from it. It relaxes your entire body & mind, so if you suffer from stress or anxiety, this will help you!


3. Dandelion root tea with lemon


This is another one of my favorite tips! As I'm sure you already know, you should already be consuming more water, which is the easiest and fastest way to flush out your system. Dandelion root is an amazing herb, that is a natural mild diuretic and liver detoxifier. It also regulates digestion and eases an upset tum. I will drink this herbal tea 3-4x per day when I need to "detox". I will then have it once a day most days throughout the week. I recommend one cup first thing in he morning, two in-between meals, and another before bed. If you have bloat then this tip will work wonders for you because it helps your body release the water it is holding onto (it's diuretic property). Also, It detoxes the liver which is crucial if you had a big night out drinking! Squeezing some fresh lemon in the tea will also help speed up the process and help "get things moving" if you know what I mean! Lemon water reaps many similar benefits and is an amazing addition to every diet no matter if your trying to "detox" or not.

Benefits of Dandelion Herb:
  • Nourishes the liver
  • Boosts immune system
  • High in iron & zinc
  • Helps maintain regularity
  • Aids skin problems
  • Detoxifies toxic waste
  • Mild diuretic
  • Aids in digestion
  • Blood purifier

Benefits of Lemon:

  • Boosts immune system
  • Balances ph levels in the body
  • Flush out unwanted materials
  • Cures throat infections
  • Blood purifier
  • Aids in digestion
  • Mild diuretic
  • Hydrates lymph system
  • Purifies the liver
  • High in vitamin C


Aside from the above tips, make sure to be eating a clean, balanced diet and do not give in the the urge to skip meals or restrict. That only does more harm than good! Nourish your body with high amounts of vegetables, especially leafy greens, fruits, lean proteins, healthy fats, and sprouted grains. See my Instagram for lots of healthy meal ideas! I am a firm believer that if you eat good you will feel good. A healthy lifestyle + balance is key!


Stef Lia Fit © 2014