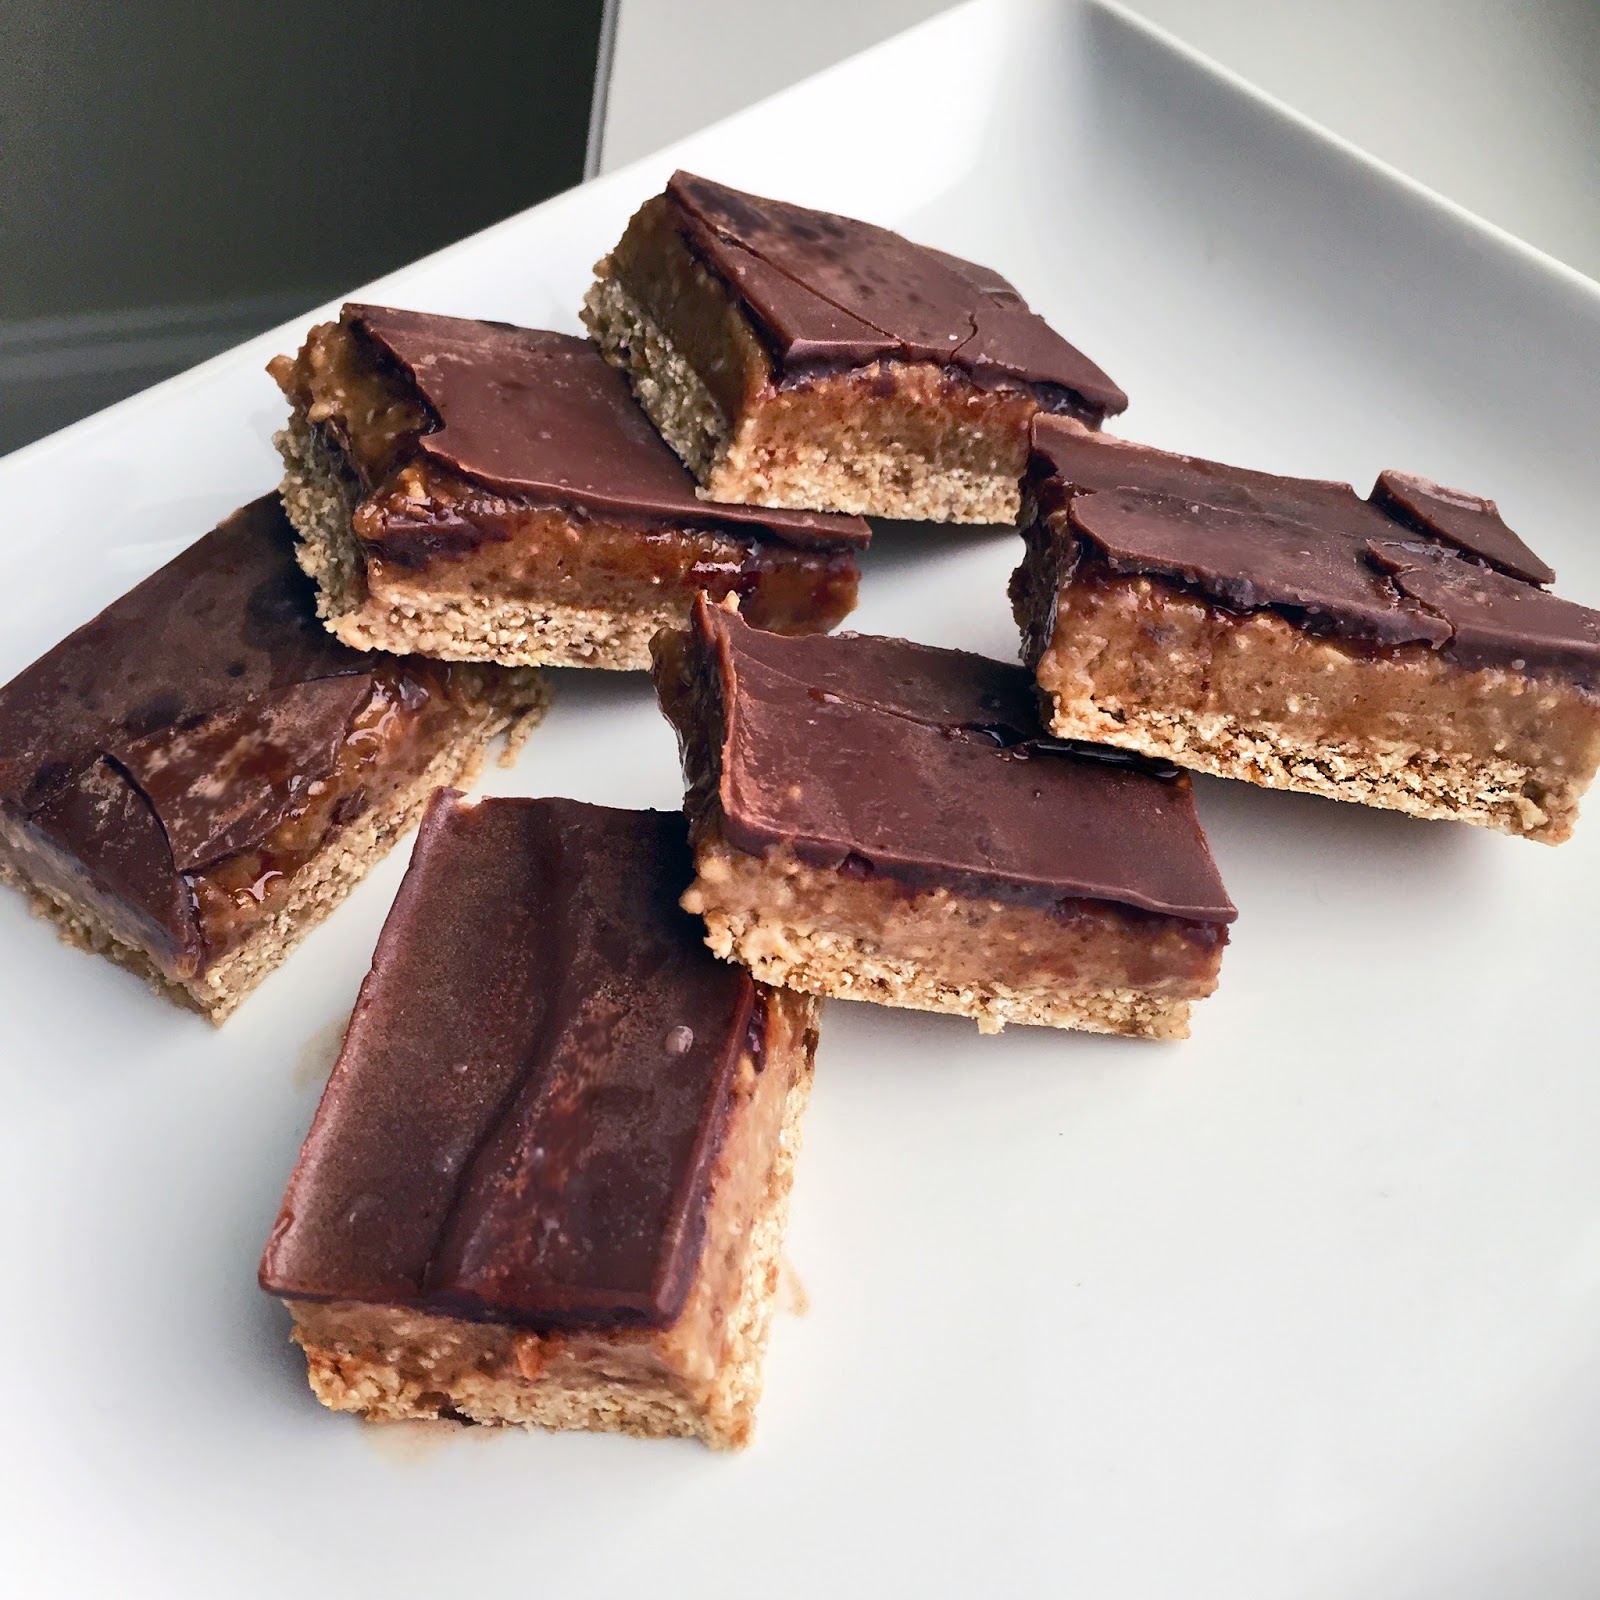
Raw Vegan Caramel Slice

I am so excited to share this recipe with you guys :) There are many raw caramel slice recipes out there but I did a little experimenting with the ingredients I had on hand to come up with these gems. I had tons of dates I had to use up, as well as a banana that was getting way too ripe for my liking, so I improvised and I am very happy with the results.
Often times, raw vegan desserts require a lot of raw nuts and sometimes expensive or hard-to-find ingredients. Not these babies! I bet most of you have these ingredients on hand now, or maybe only need to pick up one or two (inexpensive) items!
This is the perfect clean treat for my never-ending sweet tooth, that can be ate straight from the freezer (they don't harden!) and pack some nutritious healthy fats + fiber, too! These are chewy, perfectly sweet, decadent dessert that you can feel good about eating. The dates and banana provide natural sweetness, and the only added sweetener in the entire recipe is 2T pure maple syrup in the chocolate shell. Yes please! The peanut butter adds a decadent flavor to this caramel, and the chia seeds pack a fun texture and healthy omega's too. The chocolate shell is crispy, melts in your mouth, and reminds me so much of the "magic chocolate shell" I used to put on my ice cream as a kid.
My family was surprised by how good these tasted for being vegan, they make the perfect healthy treat to bring to a party! Tag me on Instagram, @stefliafit if you make these and love them as much as I do! :)
INGREDIENTS:
Base Layer:
1c oats (quick or rolled)
10 pitted dates*
Dash sea salt
1/2t vanilla extract
1/2t cinnamon
1/4c water
Caramel Layer:
16 pitted dates*
1 ripe banana
2T natural peanut butter or almond butter
2T chia seeds
2T water
Dash sea salt
Chocolate Shell:
1/4c coconut oil
2T cacao powder
2T maple syrup
Dash sea salt
1/4t vanilla extract
Equipment:
Food processor
8" x 6" dish or pan (I used a glass pyrex tupperware dish)
Parchment paper
*I used small pitted dates found at my grocery store. The dates used were not considered medjool, which are much larger. If using medjool, I would estimate using 7 dates in the base layer and 12 dates in the caramel layer. Don't be afraid to use less or more depending on the consistency!

METHOD:
1. Line your dish with parchment paper so your slices slip out easily. No need to grease! Cut off excess edges where necessary.
2. Start with the base layer. Add the oats to a food processor and blend until a fine flour consistency. It is ok if its a little chunky.
3. Add pitted dates, sea salt, vanilla, cinnamon, and water. Blend & pulse until ingredients are combined. (You may need to scrape down the sides and stir every so often since the dates are very sticky). Add a splash of water as needed if mixture is too dry or difficult to blend (be patient!)
4. Once the batter resembles cookie dough, is blended evenly, and can be molded with your hands, press biscuit dough into the bottom of your parchment lined dish with your hands. Make sure you press firmly to compact the dough and make sure it is spread as even as possible and to all edges and corners. Use a spatula or large spoon to flatten and smooth out biscuit layer if needed.
5. Place biscuit layer in freezer while we make the caramel.
6. In the same food processor, blend all caramel layer ingredients until fully combined, scraping down the sides as needed. If your mixture seems dry or won't blend, add splashes of water as necessary.
7. Remove biscuit layer from the freezer and pour the caramel layer on top. Smooth out the caramel evenly as you did the biscuit layer, so that it reached all edges and appears flat.
8. Place the dish (now with the biscuit + caramel layers) in the freezer for at least 2 hours (patience!) Can be left in as long as needed, but 2 hours is the minimum.
9. Lick food processor clean ;)
10. When your ready for your chocolate layer, melt the coconut oil in a small bowl and add remaining chocolate shell ingredients. Add more or less cacao powder or maple syrup depending how rich or sweet you prefer (don't be afraid to test taste!)
11. Remove dish from the freezer and pour your chocolate on top of caramel layer. Chocolate should coat the top evenly and appear smooth (this is the importance of making the layers flat/even early on!) Use a spoon or tilt the dish to ensure the chocolate coats all edges and is spread evenly.
12. Place dish back in freezer for at least 1 hour or longer. Chocolate shell will harden.
13. When ready to cut, gently lift parchment paper out of dish and place on a cutting board.
14. Run a large, sharp knife under very hot water and gently but firmly cut slices in desired shape (I prefer squares!) The chocolate may crack a little but the hot knife prevents most of this. Cut into however many pieces you like, however I got a perfect 12 squares from the size dish I used.
15. Store your slices in the freezer until ready to eat or serve! The caramel and biscuit layers never fully harden which is simply due to their ingredients. Therefore these will be chewy and delicious straight from the freezer! I have not tried storing in the fridge but you can if you want them softer. I would not suggest leaving them at room temperature for too long because the coconut oil in the chocolate shell melts easily so it must stay cold in order to stay firm!
16. ENJOY :)